Install Option 1: Notes Browser Plug-in stand-alone (NotesPluginMin or NotesPluginMax)
NOTE: The user must has Windows Administrator rights to install NBP.
1. If any prior version of Notes exist, then you must first uninstall.
2. Determine which NBP stand-alone option is required for your Notes apps, then install as seen below.
i.e. NOTES_PLG_LIT_901_WIN_EN-CIQ96EN.exe, NOTES_BP_901_WIN_EN-CIQ90EN.exe
Figure 3: Click the Next button.
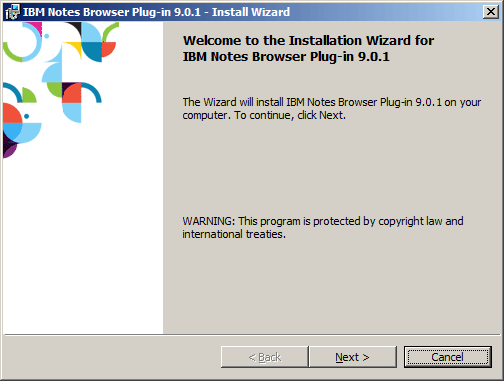
Figure 4: Click "I accept...", then click the Next button.
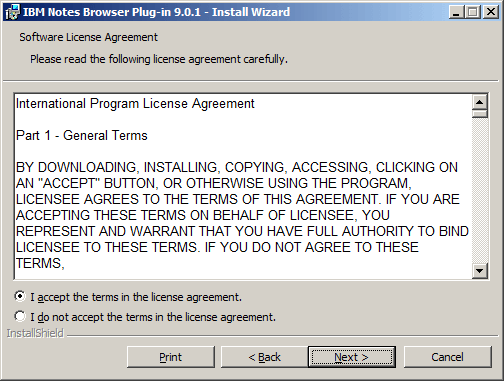
Figure 5: Click the Install button.
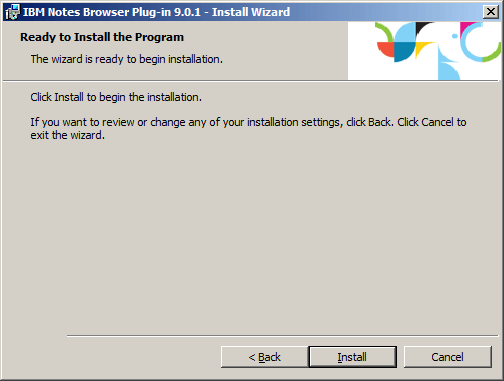
Figure 6: Click the Finish button.
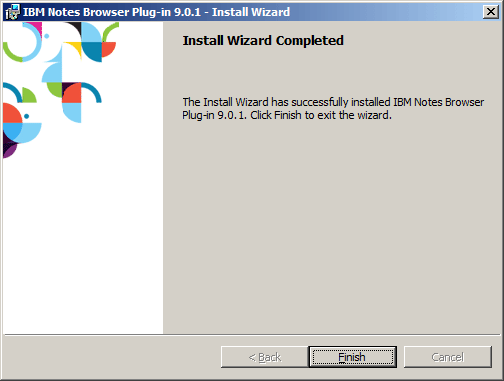
Figure 7: Open web browser, then open internet address notes:home as seen below.
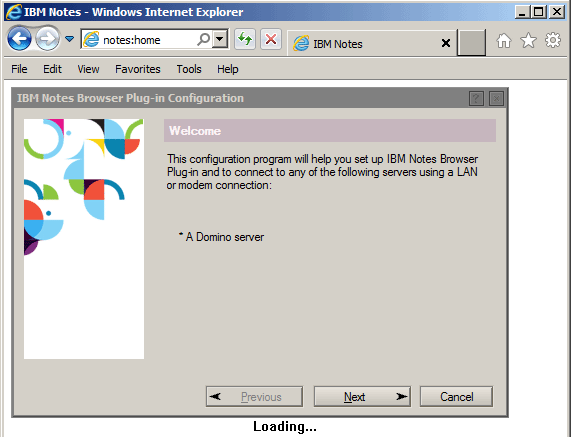
Figure 8: Type your name and Domino server as seen in the example below.
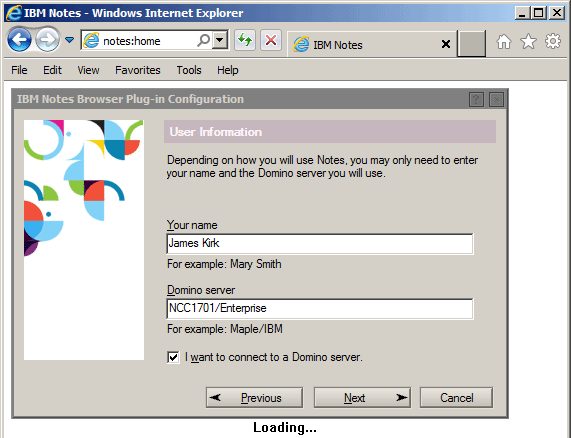
Figure 9: Click "set up a connection...", then click the Next button.
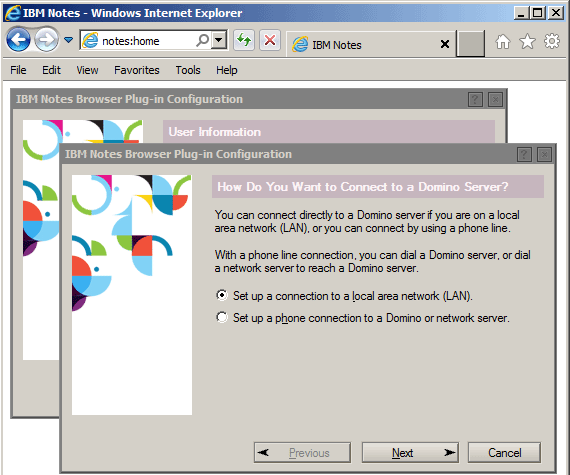
Figure 10: Type your Domino server name, select TCP/IP and type your Server address as seen in the example below.
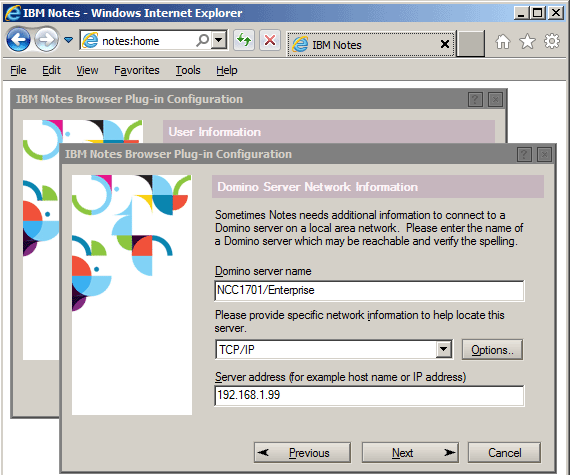
Figure 11: Click the Browse button to select your Notes ID file as seen in the example below.
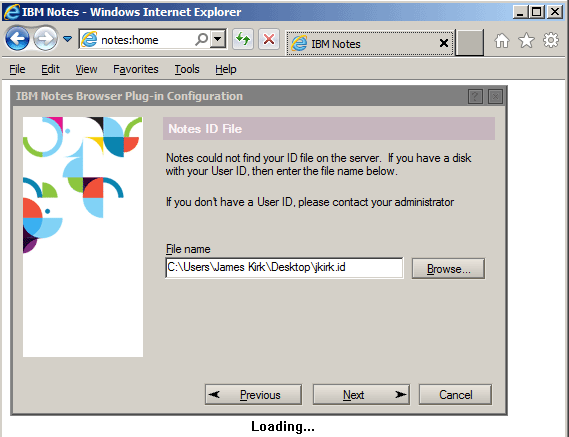
Figure 12: Click the Yes button as seen in the example below.
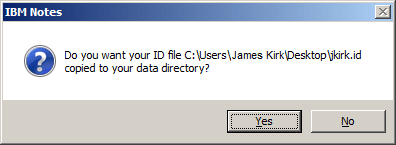
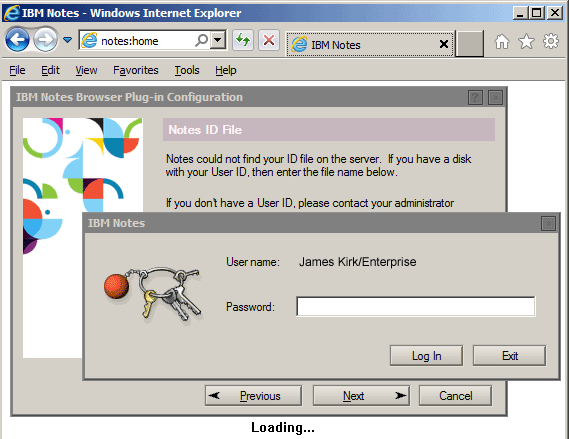
Figure 13: Type your password as seen in the example below.
The post-installation size for NBP (NotesPluginMin) and NBP (NotesPluginMax) can be seen below.
Figure 14


Install Option 2: Notes Browser Plug-in with Notes Standard client
Allows you to run the Notes Standard Client and NBP on the same desktop. NOTE: NBP will not run while the Notes 9 client is running and visa-versa.
1. If any prior version of Notes exist, then you must first uninstall.
2. Launch the Notes Standard client installation file.
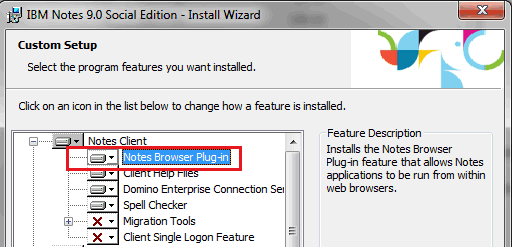
3. After you select the Notes Program and Data folders select the "Notes Browser Plug-in" option as seen below.
4. Continue with the normal installation.
Figure 15: Select "Notes Browser Plug-in" during a Notes 9 install.
Reference Sources